PIC Waveform Recorder
In this article I’ll show you how you can use PIC microcontroller to record and store waveform patterns in its EEPROM memory and replay the sequence later. For this purpose we’ll need a signal/waveform generator to produce the signal, PIC ...
Raspberry Pi 3 Digit LED 7-Segment Countdown Timer
Multiplexing 7-Segment display scheme with Raspberry Pi as described here can be used as a basis for more complex projects. By adding 4x4 keypad matrix and replacing individual 7-Segment displays with a common anode 4 digit 7-Segments module a simple ...
Fading LED with PCF8591 Arduino I2C
Controlling LED brightness with Arduino is one of the basic circuits you can built. Fade sketch is even included in the basic examples in the Arduino IDE. However on Arduino boards it’s done by pulse width modulation, changing the duty ...
Arduino 3 Digit Timer with LED Display
Arduino based 3 Digit Timer with LED Display module is a relatively simple design. Recently I’ve published a number of similar projects that essentially perform the same task. You set up an initial value via some kind of user interface ...
Function Generator
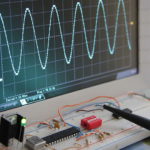
Have you ever wondered how to generate a sine wave using PIC microcontroller. In this post I’ll show you a simple circuit design that can generate arbitrary wave forms including sine by using MCU and PCF8591 D/A converter. For similar design ...
RGB LED Bar Graph
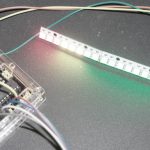
Current LED Bar Graph design for Arduino UNO platform uses 16 independently controlled RGB LED’s with integrated WS2812 chip. Similar project is available at this link. In general the voltage is divided into equal intervals equal to the number of ...
Arduino Photoresistor Relay Control with PCF8591 Module
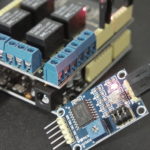
Relay controlled by light intensity can be implemented using Arduino UNO compatible board. In this case Keyestudio UNO R3 and AD/DA module with PCF8591 chip. Similar simpler design is available here. On this particular module a photoresistor and a potentiometer ...
PWM Fan Controller
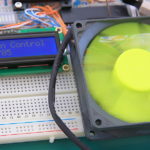
The schematic includes an LCD display for monitoring fan RPM however if you need a basic controller the LCD can be omitted thus reducing the size of the board. In this case only 2 components are needed, microcontroller and simple ...
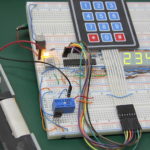
Electronic Lock
Here is a modified and improved electronic lock design. For Arduino version click here.It is largely based on Digital Lock article, however this time a real electronic lock was used instead of a solenoid. The code is a 4 digit number ...
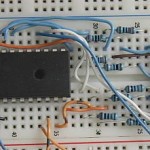
Digital Voltmeter LED Display
Here is another modification of a digital voltmeter. This time with 7 – Segment LED Display. These circuits seems to be more popular than other designs so I’ve decided to publish another variant. You can find 4 variations of digital voltmeter on ...
