Arduino based 3 Digit Timer with LED Display module is a relatively simple design. Recently I’ve published a number of similar projects that essentially perform the same task. You set up an initial value via some kind of user interface like push button or a keypad and the circuit counts down to “000”. The display type is also varies. It can be a standard LCD, LED dot matrix module or a simple 7-Segment display.
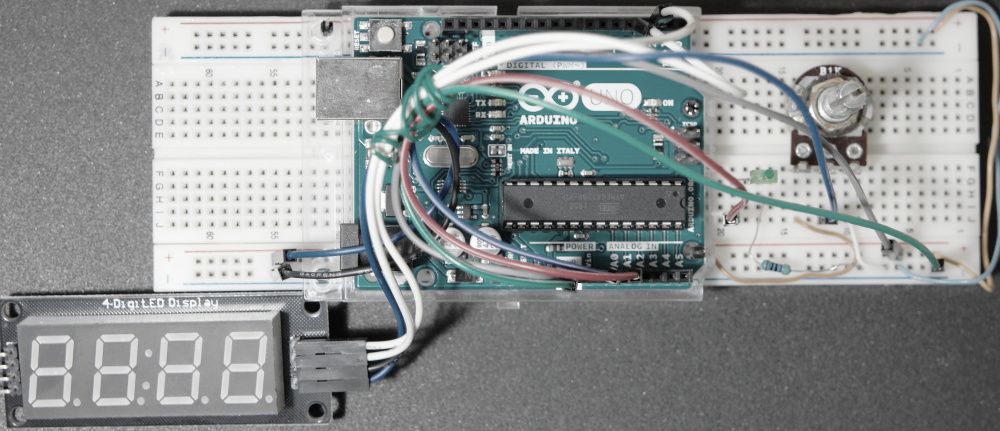
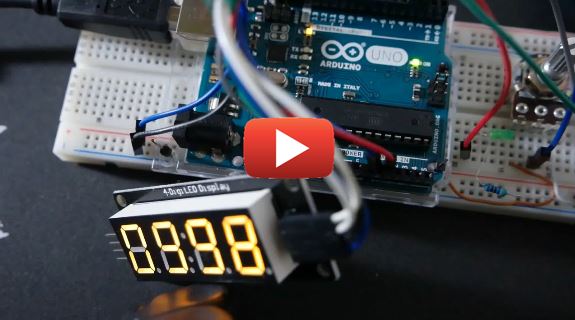
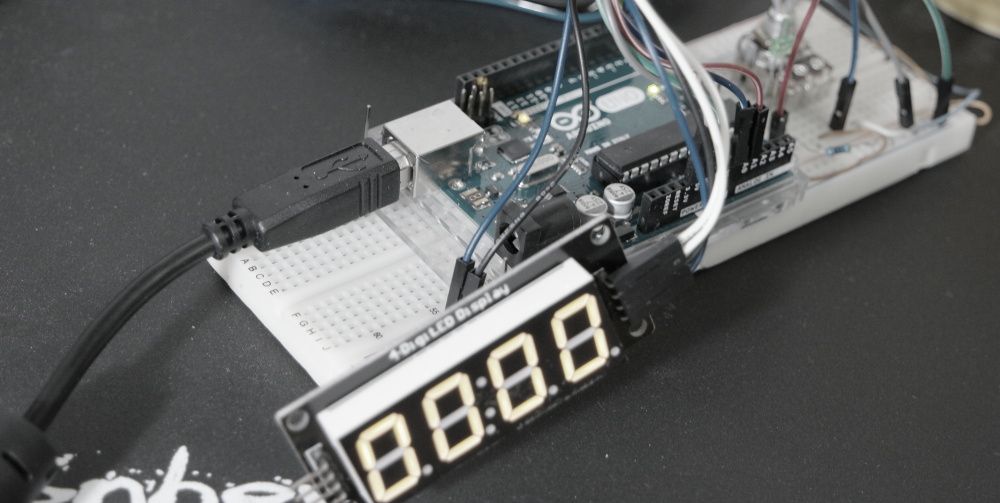
Current design uses LED display module based on TM1637 chip to show the timer count in seconds and a 10k potentiometer to adjust the initial value and start the count. See attached schematic diagram. Arduino code can be downloaded here. TM1637 library ZIP archive is available at this link.
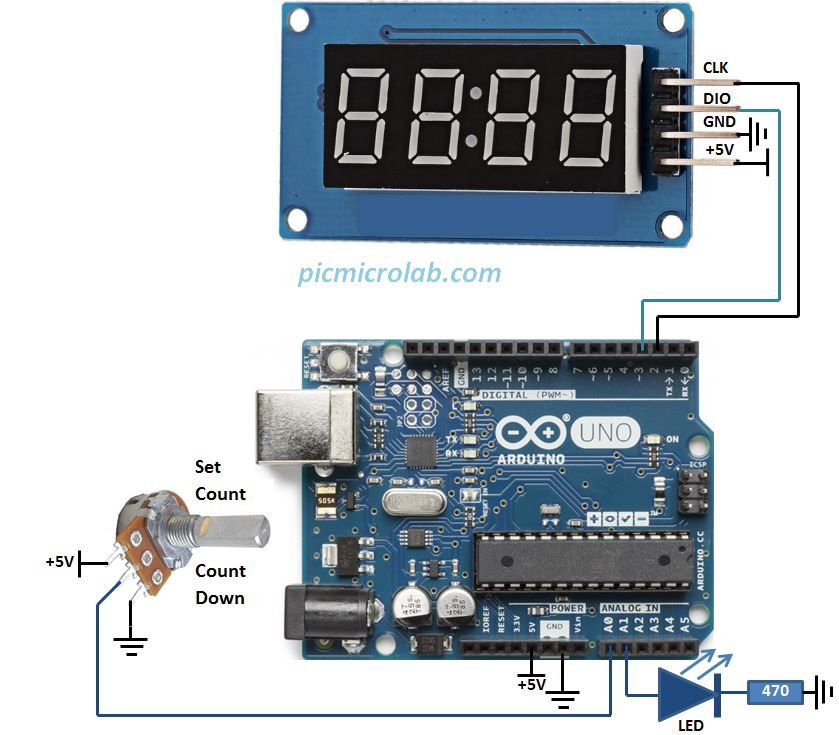
Rotate the potentiometer CCW to set up the time value and CW to begin counting as shown in a short video on the bottom of the page. At “000” count the LED at A1 output will blink. You can connect a relay, buzzer or other indicators to this pin. Pay attention to MAX output current from a single Arduino I/O. In case of heavier loads a current boosting transistor or solid state relay can be used.