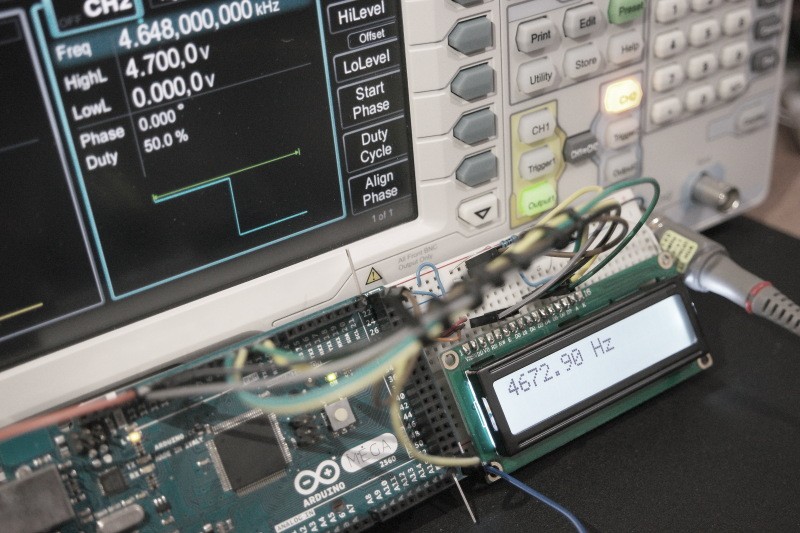
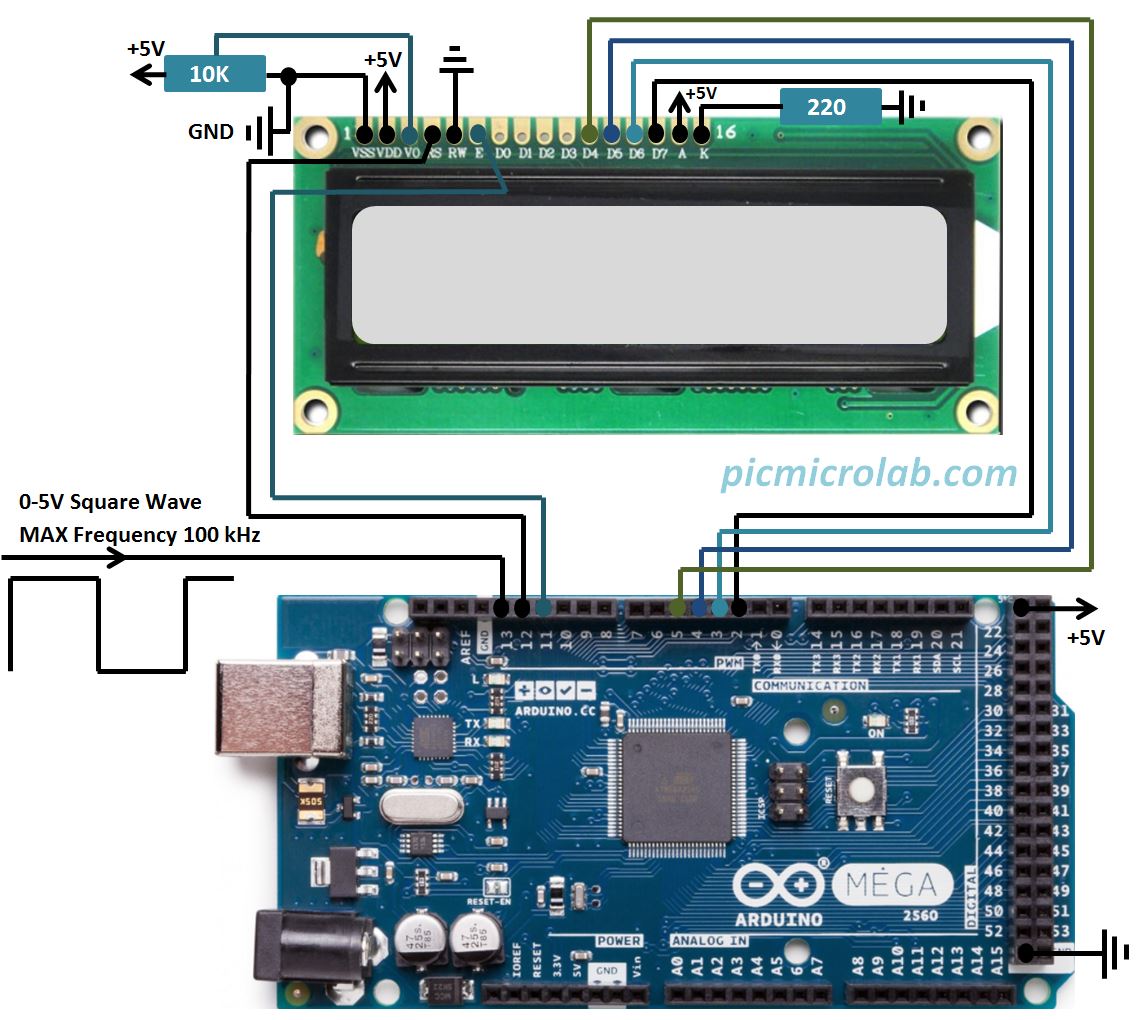
Basic frequency counter capable of measuring 0-5V square wave up to 100kHz can be built using just 2 components: Arduino MEGA board and 2×16 LCD display. For PIC16F876 version click here. Frequency counter code is also very simple. It uses a standard pulseIn() Arduino function to measure the time it takes for pulse to go from HIGH to LOW state and then calculates the Time period of a signal. It assumes that a signal has 50% duty cycle, otherwise the reading will be incorrect. Now you can find the frequency by this formula: T = 1 / f. The minimal time this function can measure is 10 microsecond, so if you need to measure frequencies higher than 100kHz this approach will not work. There is a library for Arduino called FreqMeasure that may be useful in this case. Next is the schematic of the frequency counter prototype.
In order to get a more stable frequency reading instead of taking just one returned value from pulseIn() function the attached Arduino sketch takes 500 samples and produces average time. Increasing the number of samples did not improve the measurement significantly.
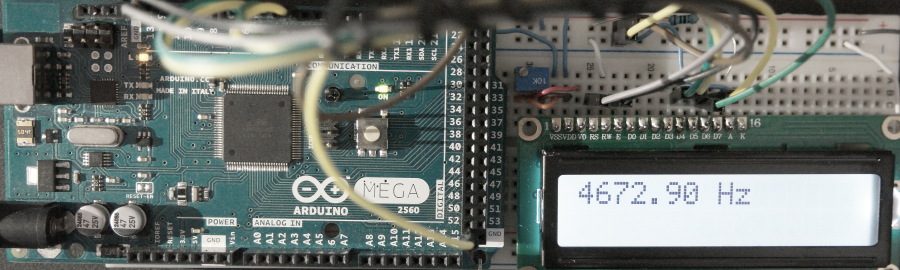
Here is a short video showing prototype operation. As you can see there is a small delay in updating the current frequency on the LCD as the result of averaging.